Sections
Related Tutorials
Overview
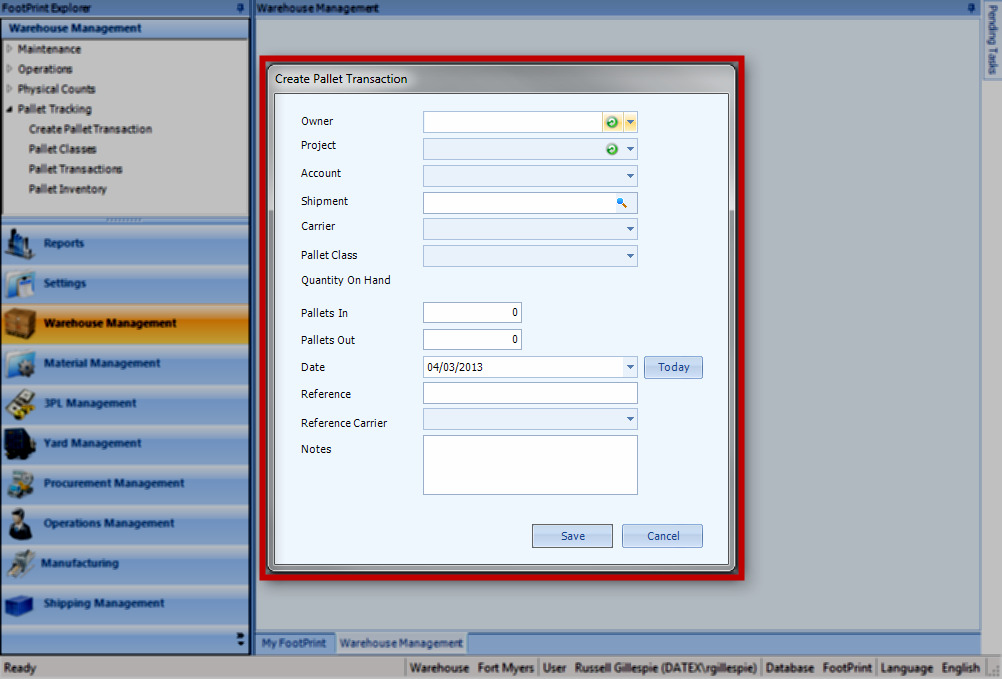
Pallets can be tracked in Footprint. Double-clicking Create Pallet Transaction in the Footprint Explorer opens a pop-up window, in which you can enter a new Pallet Transaction.
From here you can...
Main Screen Layout
Create Pallet Transaction
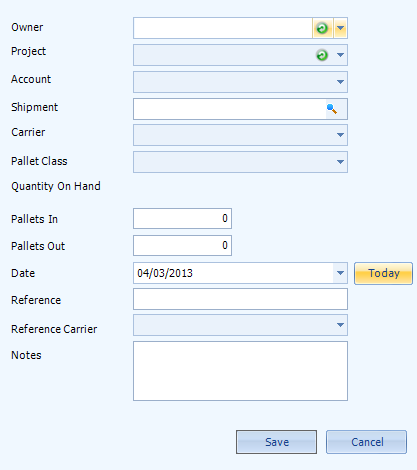
| Owner: | A drop-down menu from which you can select the Owner for the Transaction. |
| Project: | A drop-down menu from which you can select the Project for the Transaction. |
| Account: | A drop-down menu from which you can select an Account to associate with the Transaction. |
| Shipment: | A drop-down menu from which you can select a Shipment to associate with the Transaction. |
| Carrier: | A drop-down menu from which you can select a Carrier to associate with the Transaction. |
| Pallet Class: | A drop-down menu from which you can select the type of Pallet involved in the Transaction. |
| Quantity On Hand: | If there are any of the selected Pallet Class currently in the Warehouse, the number would be displayed here. |
| Pallets In: | The number of Pallets to be kept as a result of this Transaction. |
| Pallets Out: | The number of Pallets leaving the Warehouse in this Transaction. |
| Date: | The Date on which the Transaction is taking place. The "Today" button will automatically set the Date to today. |
| Reference: | A Reference Number for the Transaction. |
| Reference Carrier: | A drop-down menu from which you can select a Carrier to associate with the Reference Number for the Transaction. |
| Notes: | An open field in which you can enter Notes. |
*Those in red are required fields.
The Save button saves the Transaction, adjusting the Quantity of Pallets in the system. The Cancel button closes the pop-up window, discarding any changes made.
| Last Updated: |
| 06/06/2025 |


